These zucchini feta fritters are a great appetizer or finger food on a hot summer day. The saltiness of the feta and the freshness of the mint, combine with the zucchini to make a delicious and refreshing treat. Since discovering this recipe, it has become a summer staple in our home. These bite size zucchini feta fritters are particularly handy given that they can be eaten hot or cold.
Ingredients
- 4 cups shredded zucchini (~ 3 size medium zucchinis)
- 3 tablespoons fresh chopped mint
- 1 egg
- 8 ounces feta cheese
- Half a medium red onion
- 1/2-3/4 cup all-purpose flour
- Extra virgin olive oil for frying
Preparation
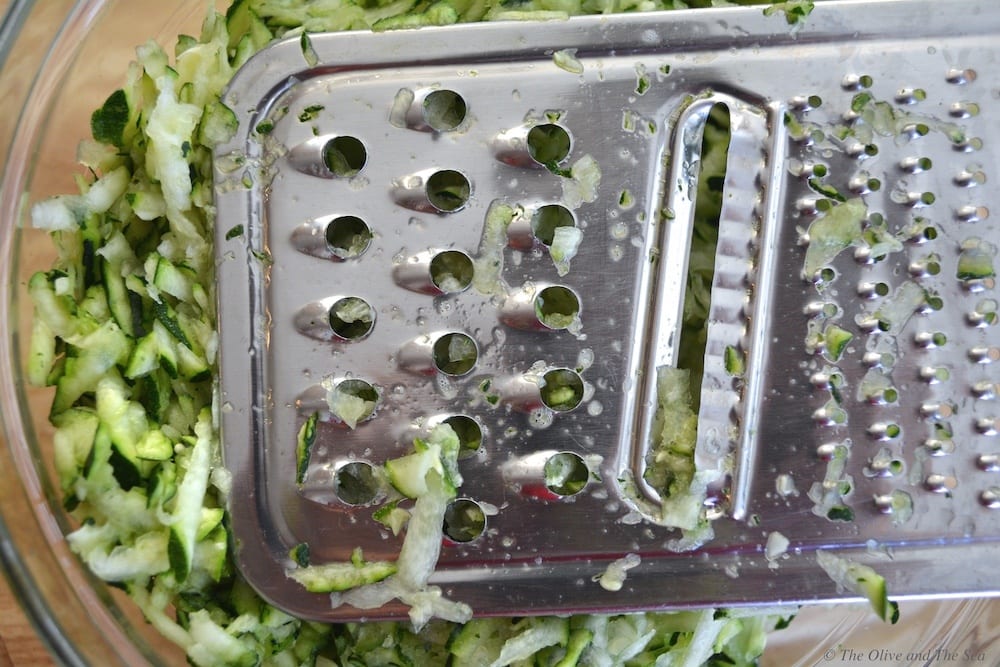
- Wash the zucchini and grate over a large bowl
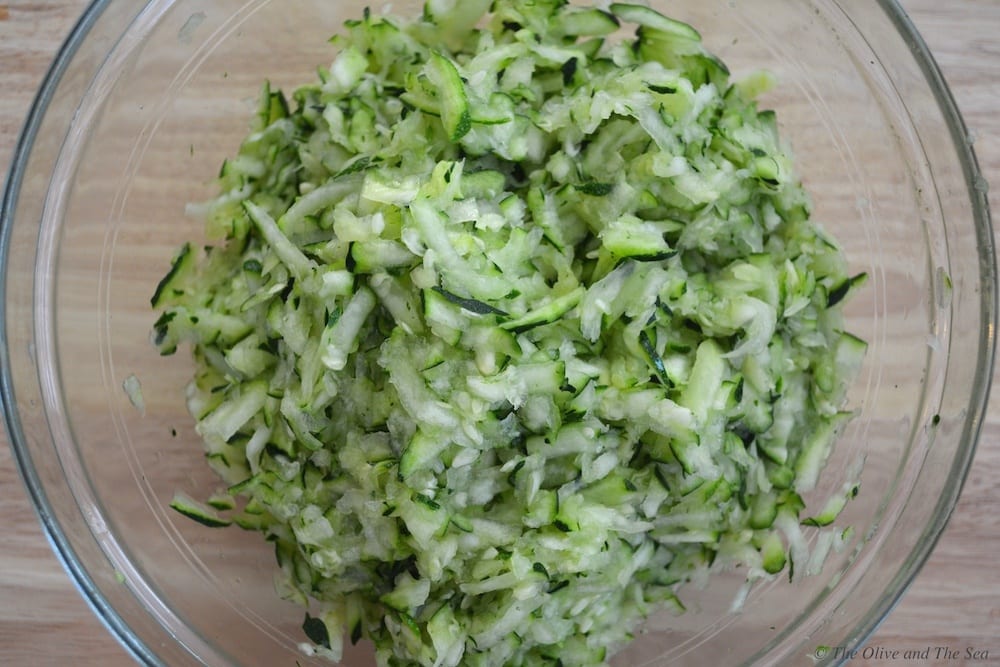
- Remove some of the water from the zucchini by placing it in a pasta strainer in the sink and squeezing the zucchini with your hands
- Once you have squeezed all of the water out of the zucchinis, place them back in the bowl
- Peel and cut the onion in half
- Grate the onion over the large bowl using the same grating surface as the zucchini

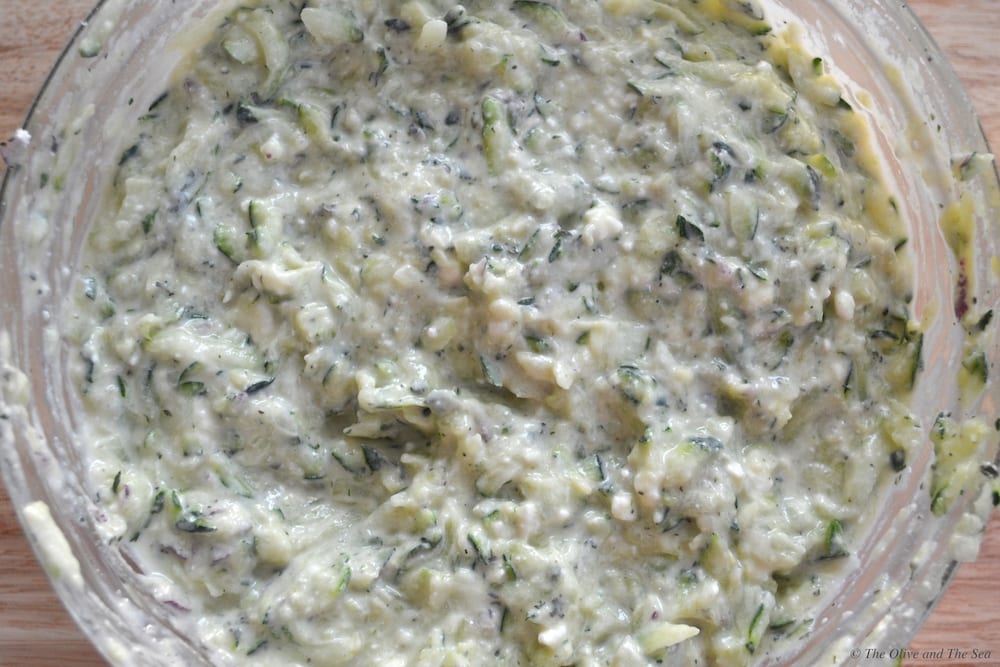
- Crumble the feta and add to the bowl
- If using fresh mint, chop the mint
- Add the mint and egg to the bowl
- Mix all of the ingredients together. The mixture will resemble a feta/zucchini pancake batter
- Begin adding flour one tablespoon at a time. Each brand of flour will absorb moisture differently. You will likely need to add between 8 and 12 tablespoons of flour to your batter until it becomes pasty enough to form golf ball size dollops for frying
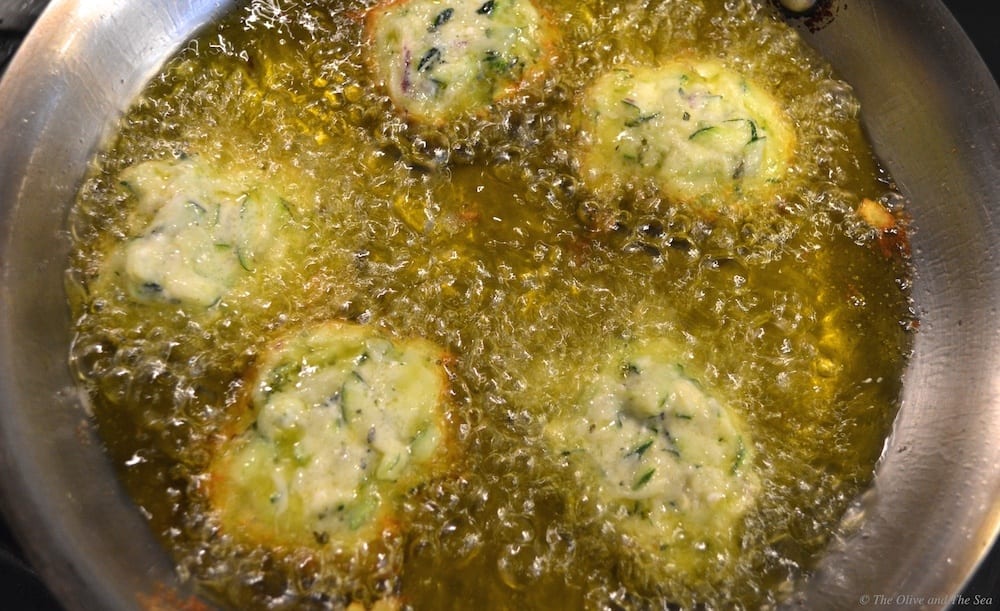
- Pour the extra virgin olive oil into a large frying pan, such that the bottom of the pan is covered with approximately one inch of oil
- Heat the olive oil over medium heat
- Once the oil is hot, place medium size dollops of batter in the oil
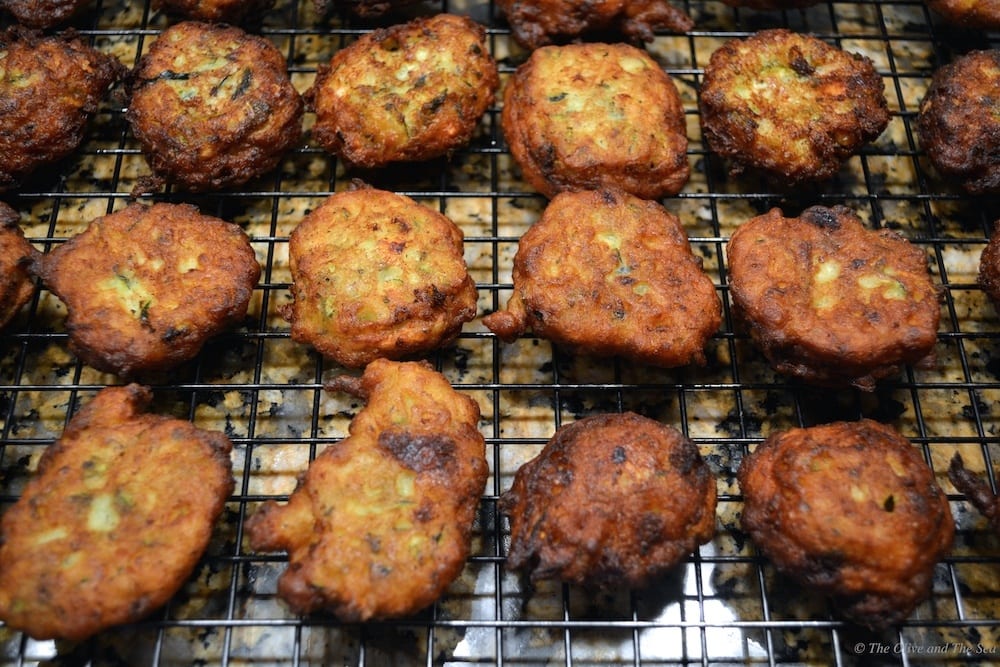
- Fry the fritters for approximately 3 minutes on each side, until a rich golden brown
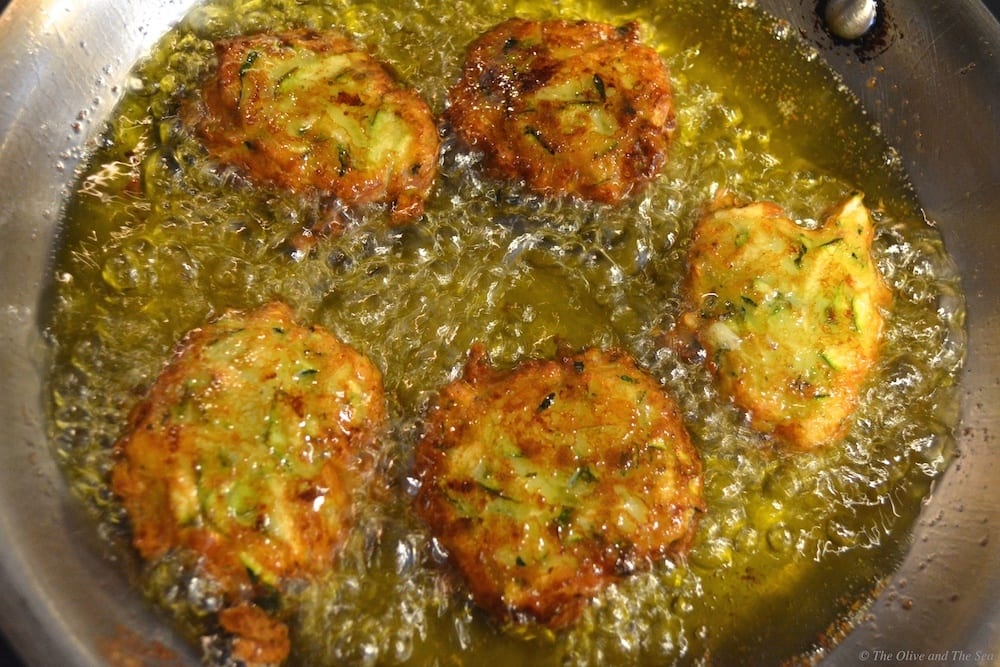
- Once the fritters are rich golden brown on both sides, remove them from the pan and place them on a paper towel lined plate for a few minutes. The paper towel will absorb some of the excess oil on the surface of the fritter
- After a few minutes, move the fritters from the plate onto a cooling rack. This allows the fritters to cool without becoming soggy on the bottom side of the fritter